welcome to the first day of Vintage May 2015!
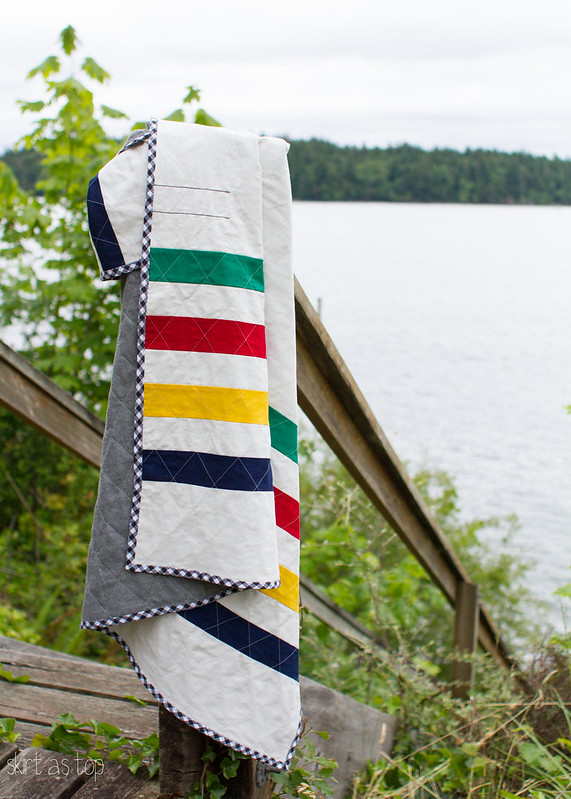
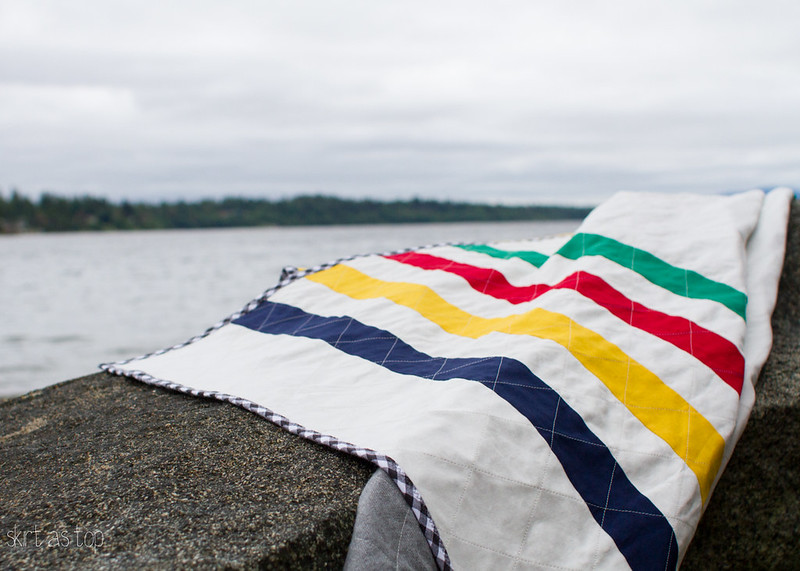
Vintage May started back in 2012 with just kid clothes, then Jess and i expanded it to adult clothes, and this year i thought it’d be interesting to add vintage-inspired home sewing into the mix! one evening i had a brainstorm of wanting to make a quilt inspired by the famous Hudson’s Bay Point Blanket…and i knew i had to make it happen!
the Hudson’s Bay Point Blanket has a fascinating history – the original blankets were used as currency in the colonial U.S. and Canada during the 18th and 19th centuries.
the blankets were typically traded to First Nations and Native Americans for beaver pelts and were 100% wool, which is both fire and water repellant. they were also very warm and easily sewn into coats.
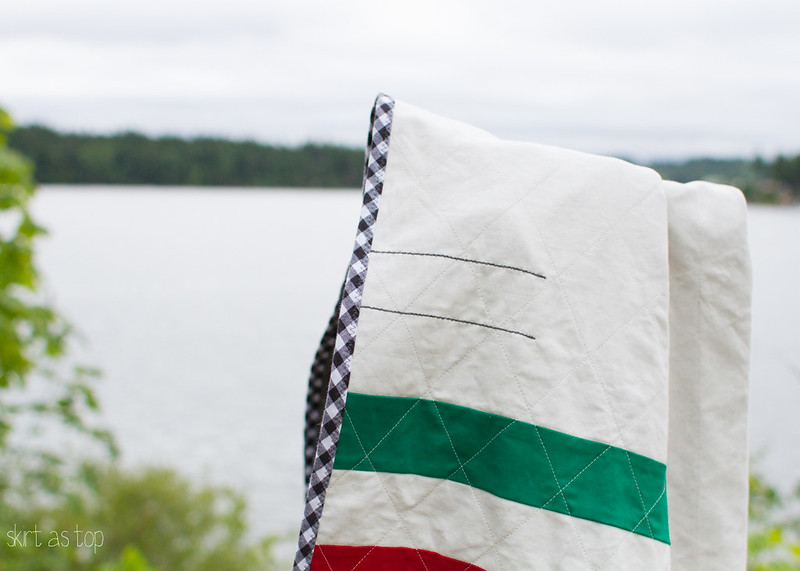
the “points” or lines on the blanket just above the green stripe indicated the size of the blanket even when it was folded up. the more lines, the bigger the blanket, and the higher the value.
original HBC point blankets are hard to find and expensive when you do. Oregon company Pendleton modeled their Glacier National Park blanket after this iconic design, which is the first time i saw it, actually!
i dove into this project without googling whether it had been done before in the sewing world, and to my surprise i only found a couple examples online! miss make did a tutorial for a larger blanket with pieced stripes, but proportions and look are different for my smaller strip quilt, so i’ll go ahead and share my method with you too. my tutorial today is for a baby or lap quilt size – about 44” x 60” (maybe a little less once all squared up).
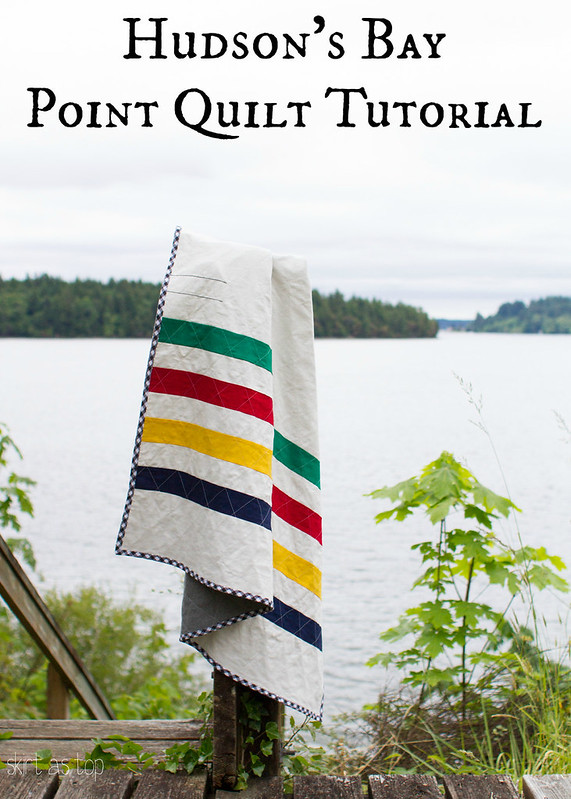
this size corresponds to a “two point” Hudson’s Bay blanket, so i added those lines in too! i considered hand embroidering them but embroidery isn’t my strong suit, so i used a decorative stitch on my machine with heavier weight dark gray thread.
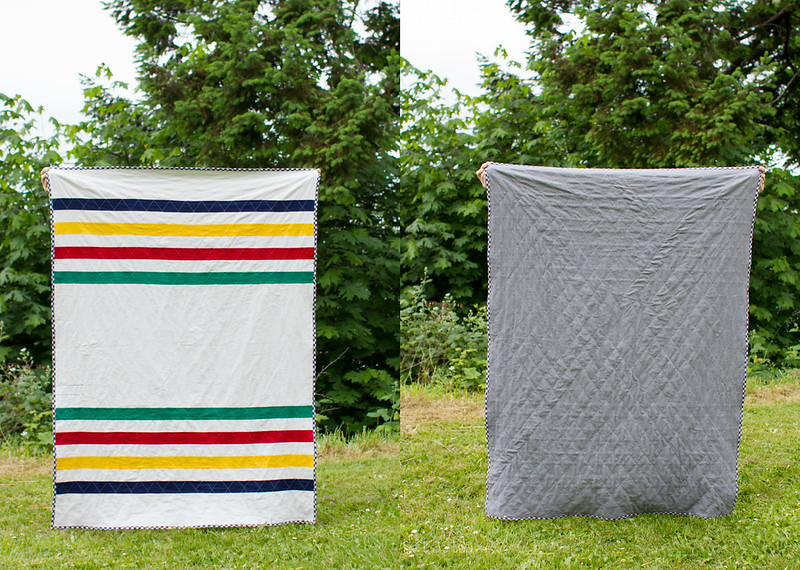
i love the colors on this thing. i tried to keep them from going TOO primary, but wanted to remain true to the original (it being Vintage May and all). the original colors were determined by readily available natural dyes and in some of the original HBC point blankets the indigo stripe looks almost black, so i hunted for the darkest blue cotton i could find.
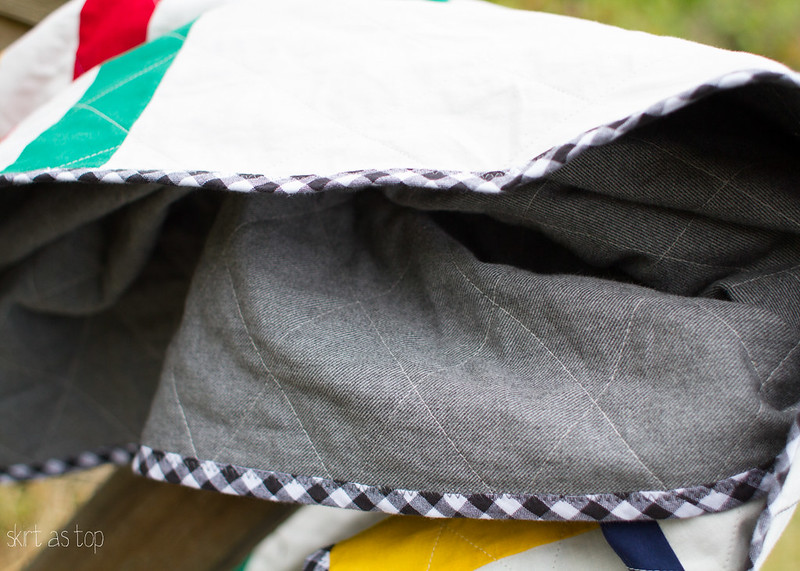
i purchased all of the quilt top fabric in one trip to Fabric Depot, but they’re all pretty basic and easy to find online. the quilt back is a heavier weight brushed twill from Jo-Ann that i had pegged for another project, but it worked perfectly here because it was 60” wide!
let’s get to that tutorial!
> FABRICS
1/4 yard each of 44/45” wide cotton solids for the stripes – i used kona rich red, kona holly, kona grellow, and american brand navy
1 1/2 yards kona natural
1/2 yard of binding material (if cutting on straight grain – more if cutting on bias like i did here with my gingham)
1 1/2 yards of 60” wide backing fabric (or pieced back)
> NOTIONS
coordinating thread for quilting (i used almost an entire 250m spool!)
dark gray heavyweight thread for “points”
1 package “baby quilt” size quilt batting (if desired – not used here because i liked the weight with just the backing twill)
> CUTTING LIST
for a baby/lap quilt that measures about 44” x 60”
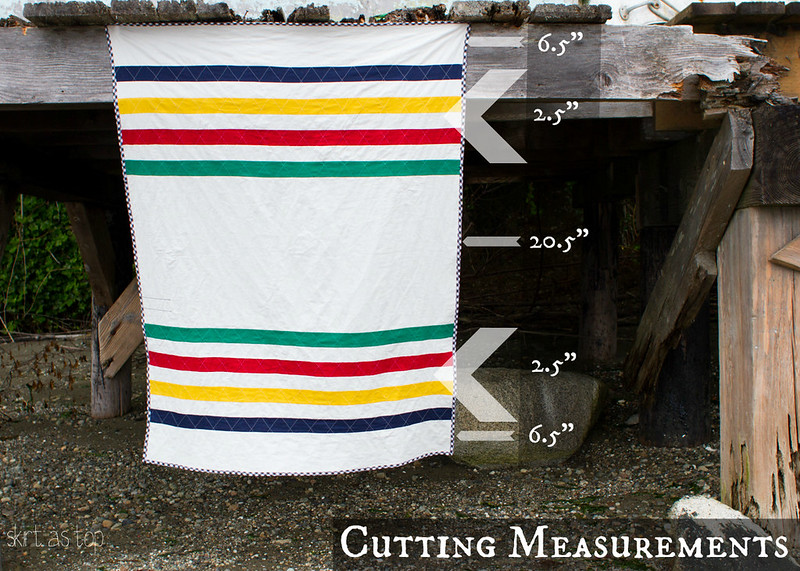
2 each at 2 1/2” x width of fabric – red, green, yellow, blue
6 each at 2 1/2” x width of fabric – white
2 each at 6 1/2” x width of fabric – white (ends)
1 each at 20 1/2” x width of fabric – white (center)
5 strips of 2 1/2” x width of fabric – binding (to make around 6 yards of binding)
if you’re more of a visual person, see below…all solids are cut to the width of fabric.
 > INSTRUCTIONS
cut all quilt front pieces as outlined above. i found it helpful to lay the quilt pieces out on the floor to check proportion – i took a photo with my phone so i’d remember which colors needed to be sewn together!
start sewing strips together with 1/4” seam allowances, matching centers and pinning as needed. i found it easiest to sew the end caps first, then that big center piece. press all seam allowances together toward the darker fabric.
“square up” your quilt top, trimming off all the uneven bits and getting it nice and neat with 90 degree corners.
once your quilt top is done, tape backing right side down on the floor. smooth the top onto it, then baste together using pins, spray, whatever method you prefer. if using batting, the order goes like this – backing side with wrong side up, batting, quilt top with right side up.
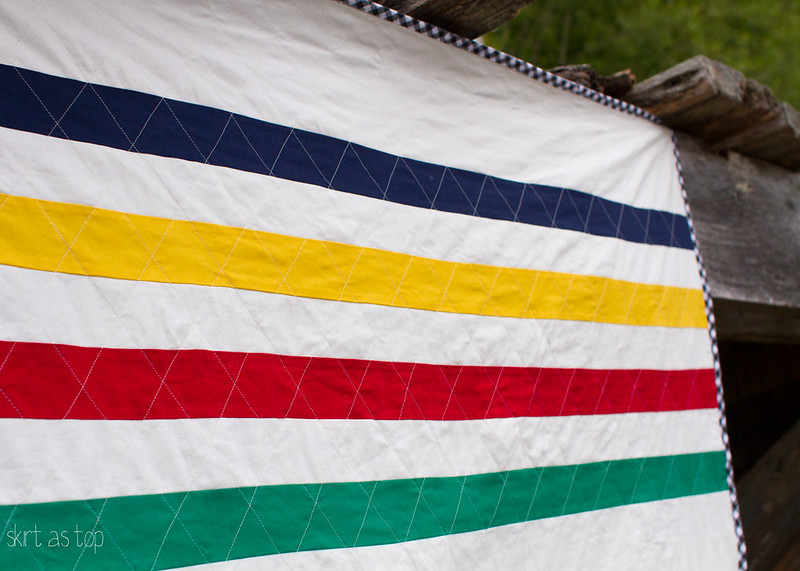
quilt start with giant X from corner to opposite corner, then quilt 2” away starting at the center and working outward, forming a diamond pattern. i used a ruler and disappearing marker to mark a few lines at a time, then quilted with my walking foot.
add your “point” lines. mine are about 5” long.
join binding strips together and attach to the front of the quilt using a 1/4” seam allowance, then wrap around to the back and zig zag to secure. i use Elizabeth Hartman’s method from her first book (affiliate link) but Stitched in Color’s zig zag method is great too! i actually finished the binding on this quilt with a zig zag.
and you’re done! enjoy your new point quilt! i was planning on making this one as a gift but i fell in love with it and now i’m not sure i can give it up…
head on over to Craftiness is not Optional to check out her adooooooorable little romper she made for her daughter! oh those toddler knees, i can’t even handle it.


Ahh, I love this so much! My parents had a knock-off, I think maybe it was from Lands End or LL Bean, when I was growing up. I have vaguely been wondering what bedding I will make for my sons when they are out of cribs. Boom – done! Thanks for the tute.
aw yay, glad to help! thank you! strip quilt piecing is so quick, too, the quilting is what took me the longest. very very doable. 🙂
Well done! I’ve been meaning to make one of these after making my Swiss Army quilt for my son. We had these when I was growing up and I wish I still did. A look alike is the next best thing! Love yours!
thanks corinnea – oh man i love your swiss army quilt! great color choices and the proportion is perfect.
this is amazing, Kristin! and I learned a little bit about history too, win-win! I love the stripes and how the lines showed how big it was…so awesome!!
you’re welcome for the history lesson – i had fun researching them too! also was glad to read that the old story i’d heard about colonists deliberately giving native americans smallpox infected blankets was just a myth. made me feel better about using it for my inspiration. 🙂
(also, i always thought the short stripes on those blankets were flaws! lots of “aha!” moments here)
This is AWESOME, Kristin! A totally unexpected surprise. I’d love to do some vintage inspired housewares. Have you seen Anna’s midcentury/modern quilted footstool from the book? This theme is totally inspiring. Thanks for hosting!
thanks so much brienne!! i just got Anna’s book in the mail on Friday and the whole thing had me swooning! thanks for being a guest! 🙂
Love this idea! I love the wool version, but am much too cheap to actually buy one, never thought to sew my own.
the washability and softness are also bonuses, haha. there’s a whole section of “point blanket” merchandise on the hudson’s bay company site, makes me want to make a pillow or a doll quilt or something too. 😉
thanks!
This is so great! I’m Canadian, but didn’t realize anyone else even knew anything about Hudson’s Bay, so this was a fun post to read! love how your quilt turned out!
How cool!! I’ve never seen these before so I loved reading the history behind them. Thanks for sharing.
Love this! I’ve wanted to try my hand at quilting for a while now. This could be the perfect first project! Do you quilt the layers together using a sewing machine? The cost of sending it off makes me want to buy from a store instead…..
This is so great! I love how beautiful, simple and graphic it is. Just perfect, Kristin!
This has always been my favorite Pendleton blanket. I have long wished to make a quilt version and how great that you’ve figured out all the calculations for me!
The quilt is beautiful! And likely less scratchy than the wool original. The Hudson’s Bay Company (and it’s blankets) still exist today: http://www.thebay.com/webapp/wcs/stores/servlet/en/thebay/hbc-/blankets/multistripe-point-blanket-0012-1019553–24 The company had effective control of much of what became Canada http://en.wikipedia.org/wiki/Hudson%27s_Bay_Company
I made one with different colors, more earth tone colors. I’ts my favorite quilt ever. I made it in 2013, I think it’s time to make another one,in these colors.
Yay for vintage may! I was getting worried yall were skipping this year. Man, I’m sure missing my sewing machine right now. Can’t wait to get my hands busy again. Love this quilt.
Such an awesome quilt! And I’ve got nothing but heart eyes for the photos! 😉
Hi Kristin! I love this project and am so thankful that you shared this tutorial. Can I ask you where you got the binding fabric? Or if you know the name of it? I’m having a very hard time finding the right gingham pattern and shade and I think it works so well with this pattern. Compliments to you! I never would have thought to bind the quilt this way and it finishes it off so nicely!!